Groin Stretches for Inner Thigh Mobility
We often ignore the muscles running down the inside of our legs until they suddenly seize up during a workout or a simple misstep. Yet a consistent routine of targeted groin stretches improves your hip mobility and significantly reduces your risk of acute injury.
The adductors pull your legs together and stabilize your pelvis. When they lack flexibility, they become highly vulnerable to sudden movements. Dedicating time to lengthen these tissues gives the muscle fibers the slack they need to handle unexpected forces. Understanding the basic structure of the inner thigh makes it much easier to target these areas safely and build lasting flexibility.
The Anatomy of the Inner Thigh
To stretch effectively, it helps to know the physical structures you are targeting. The inner thigh is a dense web of muscle tissue designed for both power and subtle stabilization.
The five adductor muscles
Specific tissues power your groin region. According to StatPearls, the adductor complex is built around three muscles, the adductor longus, adductor brevis and adductor magnus, supported by three more that also draw the hip inward: the gracilis, obturator externus and pectineus. These muscles originate near your pubic bone and attach at various points down your femur and tibia. They work in concert to draw your leg toward the midline of your body.
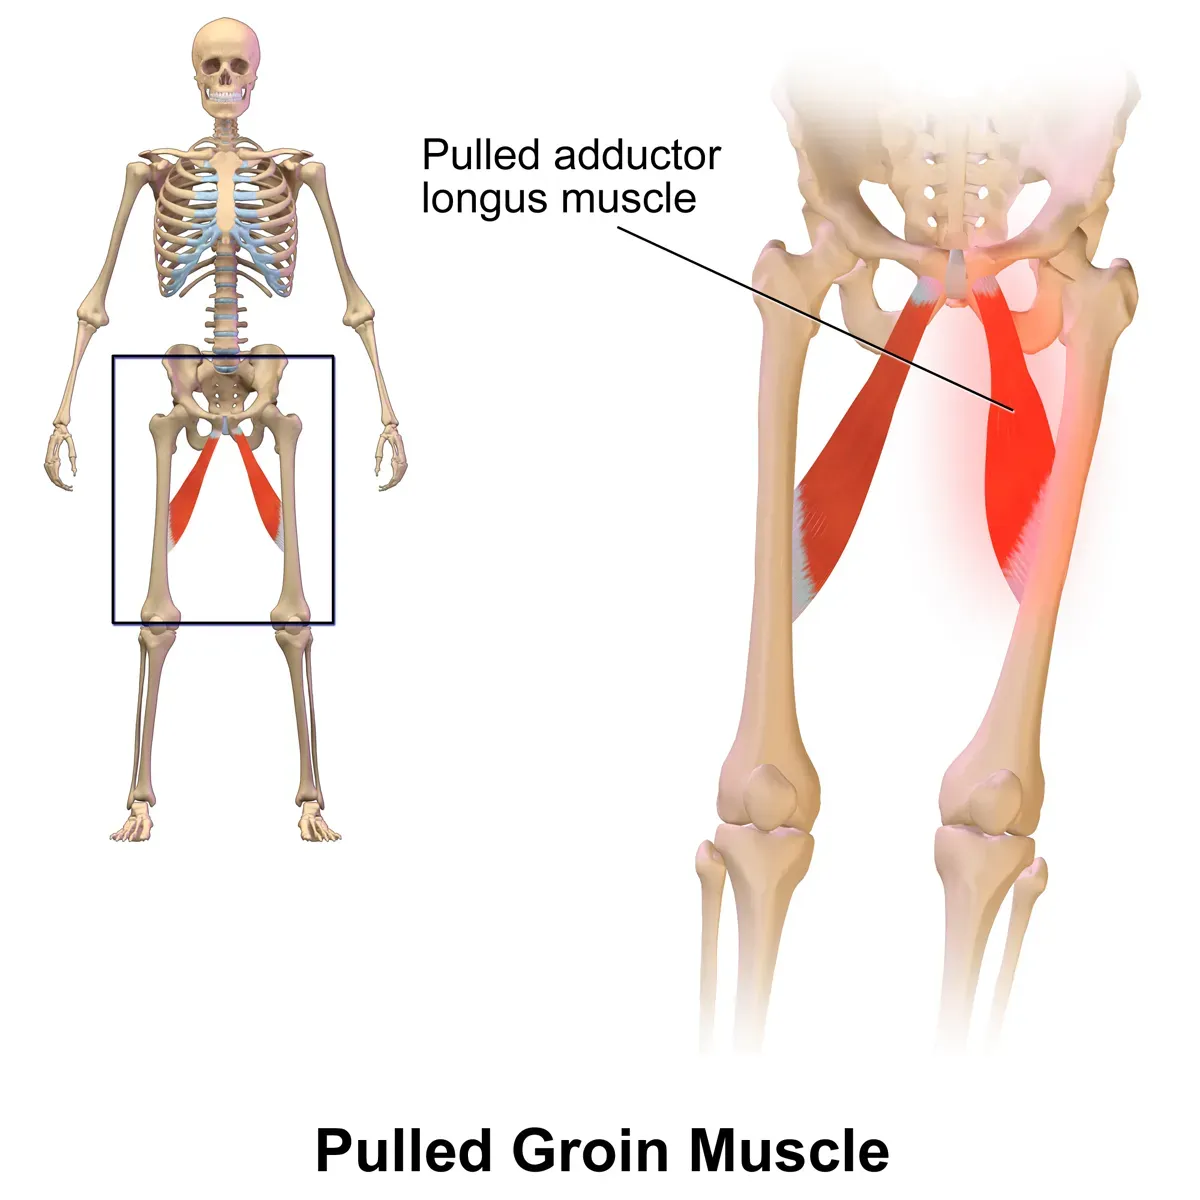 Illustration by BruceBlaus via Wikimedia Commons (CC BY-SA 4.0)
This group fires constantly when you walk, run, or simply stand on one leg. The adductor magnus is the largest and thickest of the group, providing massive force for athletic movements. The gracilis is the longest, crossing both the hip and knee joints.
The vulnerable adductor longus
All of them play a role in movement, but one is particularly susceptible to damage. The StatPearls data notes that the adductor longus is the most commonly injured of them, accounting for 62 to 90 percent of all groin strains.
Because of its specific leverage and anatomical position, the adductor longus absorbs a massive amount of force during lateral movements. When you push off the side of your foot, this muscle bears the brunt of the load. If the tissue is tight or fatigued, that load can easily exceed the structural limits of the muscle.
How a strain occurs
Muscle injuries are mechanical failures. As explained by the Cleveland Clinic, a groin strain happens when inner-thigh muscle fibers are stretched past their limit and tear. Medical professionals classify these injuries on a scale graded 1 to 3.
A grade 1 strain involves microscopic tearing that causes localized pain but minimal loss of strength. A grade 2 strain features more significant tearing and immediate weakness. A grade 3 strain is a complete rupture of the muscle belly or tendon, often requiring surgical intervention. The goal of stretching is to condition the fibers so they never reach that breaking point.
The Warning Signs of Adductor Injury
Before you begin any stretching routine, you need to know the difference between normal muscle tightness and an active injury. Stretching a torn muscle will only deepen the damage.
Recognizing the symptoms of a strain
When a groin muscle tears, the body initiates an immediate inflammatory response. Groin-strain symptoms outlined by the Mayo Clinic include localized pain, visible bruising, and swelling. You might also notice reduced motion or weakness, with pain worsening when the muscle is used.
You might feel a dull ache that intensifies when you squeeze your knees together. Sitting down or getting out of a car often becomes painful. Bruising might not appear until a few days after the initial incident as blood pools beneath the skin.
Medical red flags to watch for
A sudden sharp groin pain, an audible pop, bruising or weakness suggests an acute adductor strain. Rest the leg and get it assessed rather than stretching aggressively. Seek care for an inability to move the hip, swelling that will not resolve, or persistent numbness.
These severe symptoms indicate that the structural integrity of the muscle or nerve pathways has been compromised. Pushing through this kind of pain is highly destructive. Allow a doctor or physical therapist to evaluate the area using clinical exams or imaging before attempting to rehabilitate the tissue.
Chronic overuse versus acute injury
Groin strains arise from acute injury or chronic overuse, according to the Mayo Clinic. An acute injury happens in a fraction of a second. You slip on a wet surface, your leg slides outward, and the tissue tears.
Chronic overuse develops over weeks or months. Distance runners and cyclists often experience this. The muscle undergoes repetitive micro-trauma without adequate time to recover. Overuse injuries start as a faint stiffness that is easy to ignore. If you address this early stiffness with a measured routine of stretching for beginners, you can prevent the tissue from degrading further.
Why Flexibility Protects Your Groin
Flexibility provides a clear mechanical advantage. When your muscles have a greater functional length, your joints enjoy a wider and safer operating range.
The mechanics of tissue tolerance
Warming up and stretching before exercise are excellent ways to prevent groin strains. The more flexible you are, the further the fibers can stretch before they tear. The Cleveland Clinic highlights this basic principle of injury prevention.
Think of your muscle like a thick rubber band. A cold, stiff band snaps easily when pulled sharply. A warm, pliable band can extend much further without structural damage. Stretching regularly conditions the muscle tissue over time, helping it tolerate wider ranges of motion.
Risk factors you can control
Certain athletic scenarios dramatically increase your chances of injury. Adductor strains typically happen with a sudden change of direction or rapid hip adduction against an outward force, such as sprinting or cutting, as noted by StatPearls.
You cannot always control the chaotic environment of a sport or a slippery sidewalk. You can control the condition of your own body. Additional risk factors include prior hip injury, weak adductors, limited range of motion and insufficient stretching of the adductor complex. If you know your hips are tight, building a dedicated flexibility habit is a logical step.
Addressing muscle imbalances
Your adductors do not exist in a vacuum. They are part of a complex system of tension that dictates the alignment of your pelvis. The Mayo Clinic identifies muscle tightness, imbalance and inadequate conditioning as primary risk factors for muscle strains.
If your outer hip muscles are exceptionally strong but your inner thighs are weak and tight, the imbalance creates abnormal stress on the groin. You must condition the entire pelvic girdle. Balancing your inner thigh work with targeted hip flexor stretches ensures that your pelvis remains neutral during heavy exertion.
Essential Groin Stretches to Start With
If you are new to focused flexibility training, start with movements that allow you to control the depth of the stretch easily. Move slowly and breathe deeply.
The classic butterfly stretch
The butterfly stretch is the most recognizable movement for the inner thighs. It is accessible and easily modified.
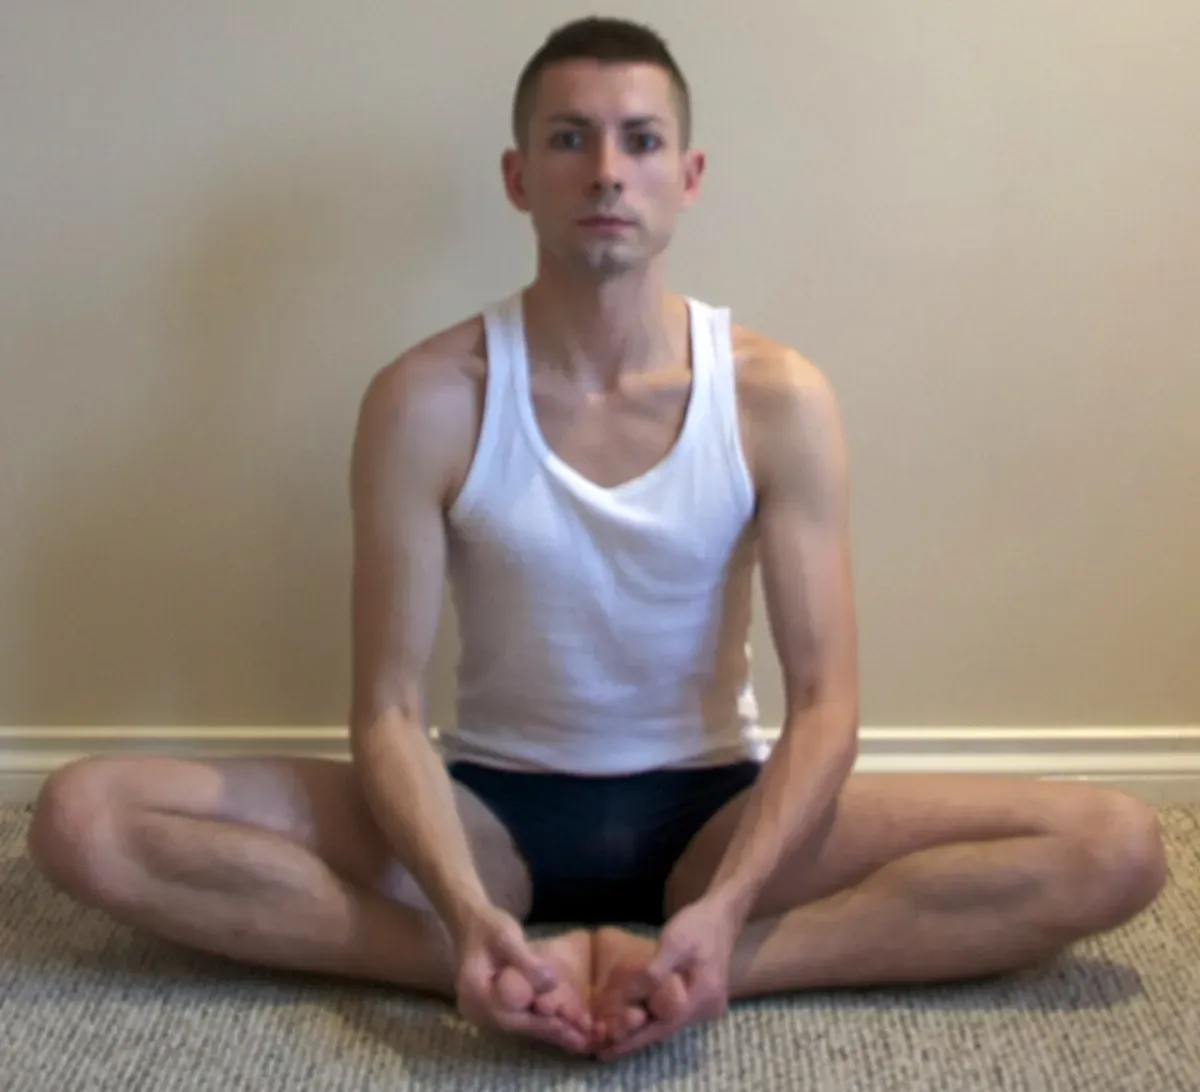
Sit on the floor with a tall spine. Bring the soles of your feet together in front of you. Allow your knees to fall outward toward the floor. Hold your feet with your hands. Gently pull your chest forward rather than aggressively pushing your knees down. You should feel a moderate tension spreading through your groin. Hold this position for 30 to 45 seconds.
If your hips are extremely tight, your knees will point up toward the ceiling. Slide your feet further away from your body to reduce the angle. You can also sit on a folded towel or yoga block to elevate your hips, making the posture much more comfortable.
The side lunge stretch
This movement mimics the lateral forces you encounter in daily life. It actively stretches one adductor group while building strength in the opposite leg.
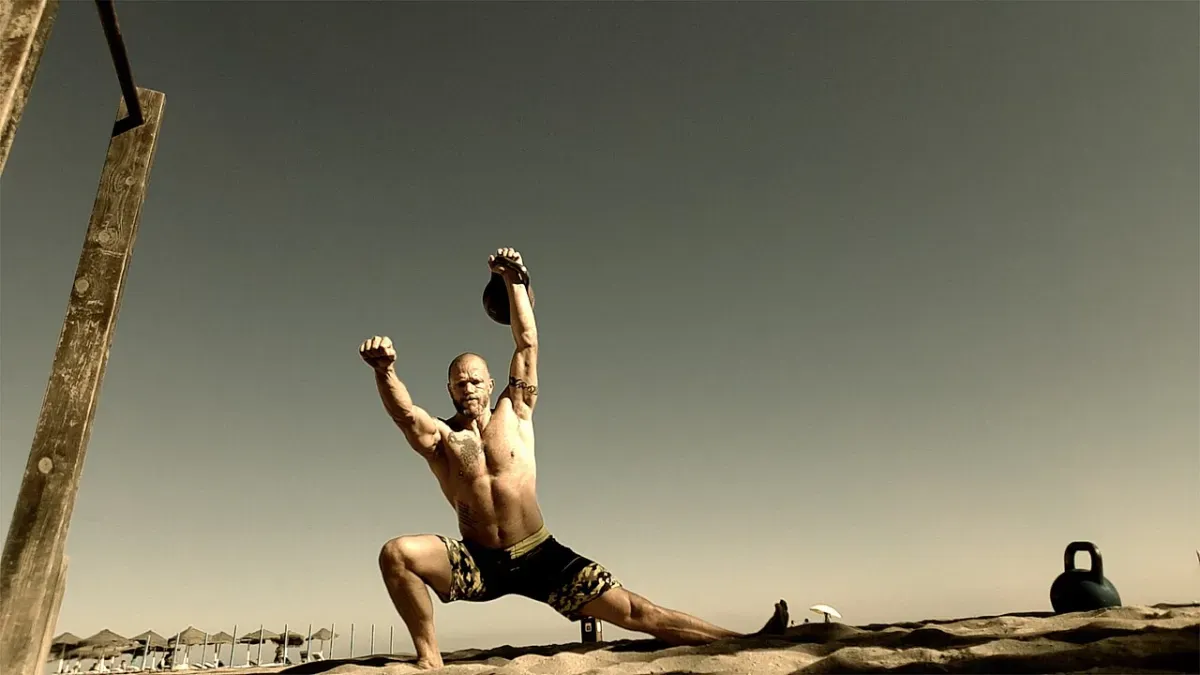 Photo by Taco fleur via Wikimedia Commons (CC BY-SA 4.0)
Stand with your feet wide apart. Shift your weight to your right leg, bending your right knee while keeping your left leg perfectly straight. Keep your left foot flat on the floor with the toes pointing forward. Push your hips back slightly as you lower into the lunge. You will feel a distinct line of tension down the inside of your straight left leg.
Hold the bottom position for 20 seconds, then push back to the center. Repeat on the other side. This dynamic movement is an excellent addition to your general hip mobility exercises.
The kneeling adductor stretch
This posture isolates the inner thigh while removing the balance requirement of the standing lunge.
Begin on your hands and knees. Extend your right leg straight out to the side. Ensure your right foot is flat on the floor and in line with your left knee. Slowly rock your hips backward toward your left heel. As your hips move back, the stretch in your right groin will intensify.
Stop rocking when you feel a strong but tolerable stretch. Hold for 30 seconds. To target slightly different fibers within the adductor group, try pointing the toes of your extended leg up toward the ceiling.
Advanced Stretches for Deeper Mobility
Once you have established a baseline of flexibility, you can introduce postures that place more leverage on the adductors. Approach these advanced stretches with patience.
The frog stretch
The frog stretch is a highly intense posture that targets the deep adductors and the hip capsule itself. It requires careful setup.
Start on your hands and knees. Slowly widen your knees as far apart as they will comfortably go. Keep your lower legs parallel to each other, with your feet flexed outwards. Lower your forearms to the floor. Gently press your hips backward.
The sensation here can be quite sharp if you move too quickly. Breathe steadily. Spend a full minute in this pose, making millimeter adjustments to find the tightest areas. If your knees are uncomfortable against the floor, place a soft blanket under them.
Seated and standing straddle holds
Straddles leverage the weight of your torso to open the inner thighs. They also demand flexibility from the back of your legs.
For the seated straddle, sit on the floor and open your legs as wide as possible into a V-shape. Keep your knees pointing straight up. Hinge forward at your hips, walking your hands out in front of you. Keep your back relatively flat. Do not round your spine just to get your head closer to the floor.
The standing variation uses gravity. Stand with your feet in a wide stance. Hinge at the hips and let your torso hang down between your legs. This position hits the adductors heavily while also working as an effective companion to your hamstring stretches.
The gravity-assisted wall straddle
This is a passive stretch. Resting against a wall offers extra support, letting gravity gently draw the legs apart.
Lie on your back with your glutes resting against a bare wall. Extend your legs straight up the wall. Slowly allow your legs to fall open to the sides in a wide V-shape. Let gravity pull your feet downward.
Rest your hands on your inner thighs for a tiny amount of extra weight. Stay in this position for three to five minutes. To exit the stretch safely, use your hands to physically lift your legs back together before rolling away from the wall.
Adductor strength training for groin mobility
Stretching alone cannot bulletproof your legs. You must build dedicated strength in the tissue to create lasting resilience. Strong muscles handle unexpected loads easily, while weak muscles tear under the exact same pressure.
Groin, inner thigh and adductor anatomy explained
The terminology can be confusing, but the groin, inner thigh and adductor all point at the exact same anatomical region. StatPearls describes an adductor complex built around three main muscles: the adductor magnus, longus and brevis. Three further muscles support them to draw the hip inward: the gracilis, obturator externus and pectineus.
Strength relative to the outside of the hip is the true metric of joint stability. Rugby players whose adductor-to-abductor strength ratio fell below 80 percent were 17 times more likely to sustain an adductor injury. Fixing this deficit works. A six-week preseason strengthening programme in NHL players with weak adductors dropped their strain incidence from 3.2 to 0.71 injuries per 1,000 player-game exposures.
The American Academy of Orthopaedic Surgeons notes that weak muscles are simply less able to cope with the stress of exercise. Fatigue heavily reduces a muscle’s energy-absorbing capacity. This explains why groin strains frequently cluster late in a hard session.
The Copenhagen adduction exercise
One specific movement dominates injury prevention research. A cluster-randomised trial of 652 Norwegian football players tested a single strengthening exercise using three progression levels. Players used it three times weekly through a six- to eight-week preseason, then once weekly across the 28-week season. The intervention group showed a 13.5 percent prevalence of groin problems against 21.3 percent in the control group. That represents a 41 percent lower risk of reporting an injury.
This movement is the Copenhagen adduction exercise. You set up in a side plank with your top leg supported by a partner or a bench. Your bottom leg lowers toward the floor under control and lifts back up. This trains the adductors while they actively lengthen.
A systematic review of the exercise found that normalised electrical activity of the adductor longus reached 108 percent during the movement. This sits well above the roughly 40 percent threshold required to stimulate strength gains.
Sets, reps and a sensible progression
Two sessions a week on non-consecutive days is enough to begin. You can easily integrate this work alongside your wider hip mobility routine.
The dosing used in the clinical trials provides a clear blueprint. The Norwegian football trial used one set per side, starting at three to five reps and building to 12 to 15 reps over eight weeks. Another protocol used two sessions a week, moving from two sets of six reps to three sets of 15. The resulting eccentric strength gains ranged from 8 percent to 35.7 percent. One trial reached an impressive 45 to 49 percent increase.
Do not jump straight to the full long-lever version in week one. Start with an isometric squeeze with a ball between your knees. The systematic review showed this honest fallback reaches similar muscle activation levels as the full plank. Next, try a short-lever side plank with your bottom knee down and the top leg resting on a low bench. Progress to the full version with just the top foot supported only when your lowering phase stays strictly controlled for the entire set.
Expect noticeable soreness for two or three days after your first couple of sessions. The tissue adapts quickly.
Watch your form carefully. Letting the hips sag or rotate backward forces the obliques to take over. Choosing a support surface so high that your hip is jammed into abduction is another common error. Never add reps before the lowering phase is perfectly controlled. Treat these muscles with the same careful loading you would apply to your hamstring stretches. If you feel sharp pain at the pubic bone rather than a dull working ache in the muscle belly, stop immediately and get it assessed.
Building a Complete Lower Body Routine
Flexibility is a habit. Doing a single thirty-minute stretching session once a month will not change the architecture of your tissues. You need regular, focused exposure.
Integrating inner thigh work
You do not need to do every stretch listed above every single day. Pick two or three movements and incorporate them into your evening routine or post-workout cooldown. Consistency matters far more than intensity. Spending five minutes a day on the butterfly stretch and the side lunge will yield massive improvements in your hip mechanics over a few months.
Balancing the surrounding muscles
Your hips are a complex junction of forces. If you only stretch your adductors, you ignore the rest of the equation.
The muscles on the outside of your hips and the back of your pelvis need equal attention. Incorporating dedicated glute stretches will ensure your femur rotates smoothly within the hip socket. Tight glutes can force the adductors to overwork to compensate for poor pelvic positioning. Treat your entire lower body as a single interconnected mechanism.
The role of active warm-ups
Never force cold muscles into a deep static stretch. Cold tissue resists elongation.
Before you attempt a deep straddle or a frog stretch, spend a few minutes generating heat in your lower body. A brisk walk or a few bodyweight squats will push blood into the adductor muscles. Dynamic leg swings are also highly effective. Stand next to a wall for balance and swing one leg side to side across your body. This active movement raises tissue temperature and increases blood flow, preparing the inner thigh fibers for the static holds to follow.
Frequently asked
- How often should I do groin stretches?
- Aim to stretch your inner thighs three to five times a week. Consistent, gentle stretching yields better long-term mobility than occasional intense sessions.
- Why do my groin stretches pinch my hips?
- A pinching sensation often means your hip joint is compressed. Try adjusting your pelvic tilt or widening your stance slightly to create more space in the joint capsule.
- Can I stretch a pulled groin muscle?
- You should avoid stretching an acutely strained groin. Rest the area and consult a medical professional, as premature stretching can worsen the torn muscle fibers.