Push Up Workout: A Beginner-to-Strong Plan

The fastest way to get good at push-ups is to treat them as a ladder rather than a single exercise. You pick a version you can do for 8 to 12 honest reps, you work it for a few weeks, then you climb to a slightly harder rung. That structure is what turns “I can’t do one” into sets of clean floor reps, and it keeps the people who already bang out twenty from stalling.
This guide is the program side of push-ups. If you want the angles and variations that bias the chest muscle specifically, that lives in the chest workout at home guide. Here the goal is different: a push-up progression you can run for months, with rep schemes, a weekly plan, and the form fixes that keep you from grinding away at a movement you’re doing wrong.
Why progression beats just “doing push-ups”
A push-up only builds strength while it’s hard. Once a version feels easy, your muscles have adapted and the stimulus fades. The fix is to keep nudging the difficulty up, and there’s research showing how far that can take you. In a four-week trial, untrained men who did progressive push-ups gained bench-press strength comparable to a group training on an actual barbell bench (Kotarsky et al., 2018). Same outcome, no equipment, and the reason it worked was the word progressive: the push-ups got harder over the program instead of staying flat.
So the unit of training here isn’t a number of reps. It’s a position on the ladder. You move up when the current rung stops challenging you, and you spend most of your time near the edge of what you can do.
This also fits the broader health math. The World Health Organization recommends adults do muscle-strengthening work hitting all the major muscle groups on two or more days a week (WHO, 2020). A push-up trains the chest, shoulders, triceps, and a braced core in one move, so two or three sessions covers most of your upper-body quota.
The push-up ladder, easiest to hardest
Think of these as rungs. Find the one where 8 reps feels genuinely tough but you keep a straight body line, and start there.
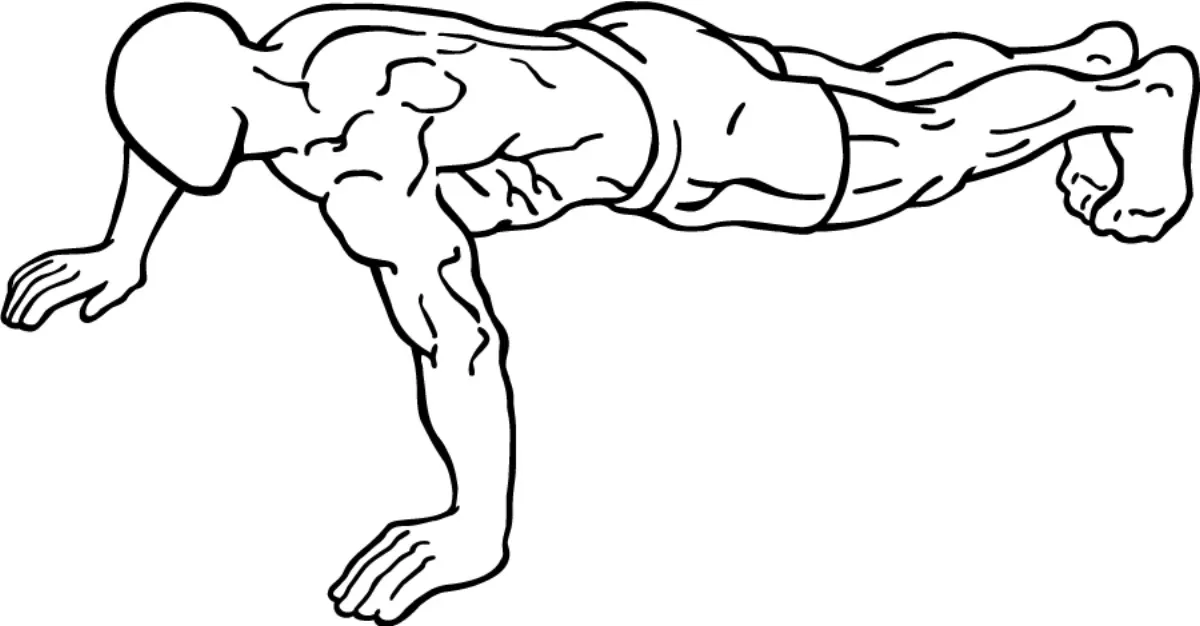
Illustration by Everkinetic via Wikimedia Commons (CC BY-SA 3.0)
Rungs for building toward your first rep
- Wall push-up. Stand arm’s length from a wall, hands flat on it, and press in and out. Almost everyone can do these, and they teach the press pattern with little load.
- Incline push-up. Hands on a kitchen counter, then a chair, then a low step. The lower the surface, the harder it gets, so this single move spans a wide range of difficulty. I’d reach for incline over knee push-ups for most beginners, because elevating the hands lets you hold the same straight line you’ll need on the floor.
- Knee push-up. Done from the floor on your knees. Useful, though the hip angle changes the movement slightly, so don’t be surprised if your first full floor rep still feels foreign.
The standard rung
- Full push-up. Hands a touch wider than shoulders, body in one line from heel to head, chest descending to within a few inches of the floor. This is the rung most plans are built around.
Harder rungs for when full push-ups feel easy
- Decline push-up. Feet up on a chair or bed. Raising the feet shifts more load onto the shoulders and upper chest and adds resistance without any gear.
- Diamond push-up. Hands close together under the chest, thumbs and index fingers touching. This loads the triceps hard. Electromyography work from the American Council on Exercise found the triangle (diamond) push-up produced the highest triceps activation of the exercises they tested (ACE, 2011).
- Archer push-up. Shift your weight over one hand while the other arm stays straight out to the side, so one arm does most of the work. This is a real stepping stone toward a one-arm push-up.
- Pseudo planche push-up. Hands down by your waist with fingers pointed back, leaning your shoulders forward over your hands. Brutal on the shoulders and a serious strength move.
You don’t need to touch every rung. Most people live on incline, full, decline, and diamond for a long time, and that’s plenty.
Rep schemes and sets
How you arrange the reps depends on what you’re chasing.
For raw strength on a hard variation, keep sets short and crisp. Three to five sets of 3 to 6 reps, full rest between them, on a rung where 6 is near your limit. For building reps and muscle on an easier variation, go higher: three or four sets of 8 to 15, with a minute or two of rest. Both work. The mistake is grinding every set to total failure, which wrecks your form on the last few reps and slows your recovery for the next session.
A cleaner approach for many people is to leave a rep or two in reserve. Stop the set when you feel your form starting to break, not when you physically can’t move. You’ll accumulate more good reps over the week, and good reps are what drive progress.
Greasing the groove
If you’d rather train push-ups most days, the “greasing the groove” method suits push-ups well. You do a few sub-maximal sets spread across the day, never close to failure. Five reps here, five reps there, maybe six or eight short sets by bedtime. Because no single set is exhausting, you can do it daily, and the frequent practice builds the skill and strength of the movement quickly. It pairs nicely with a doorway you walk past often.
A four-week push-up plan
Here’s a simple progression you can run regardless of your starting rung. Pick the hardest variation where you can complete the first set’s rep target with clean form, and train three days a week with a rest day between sessions.
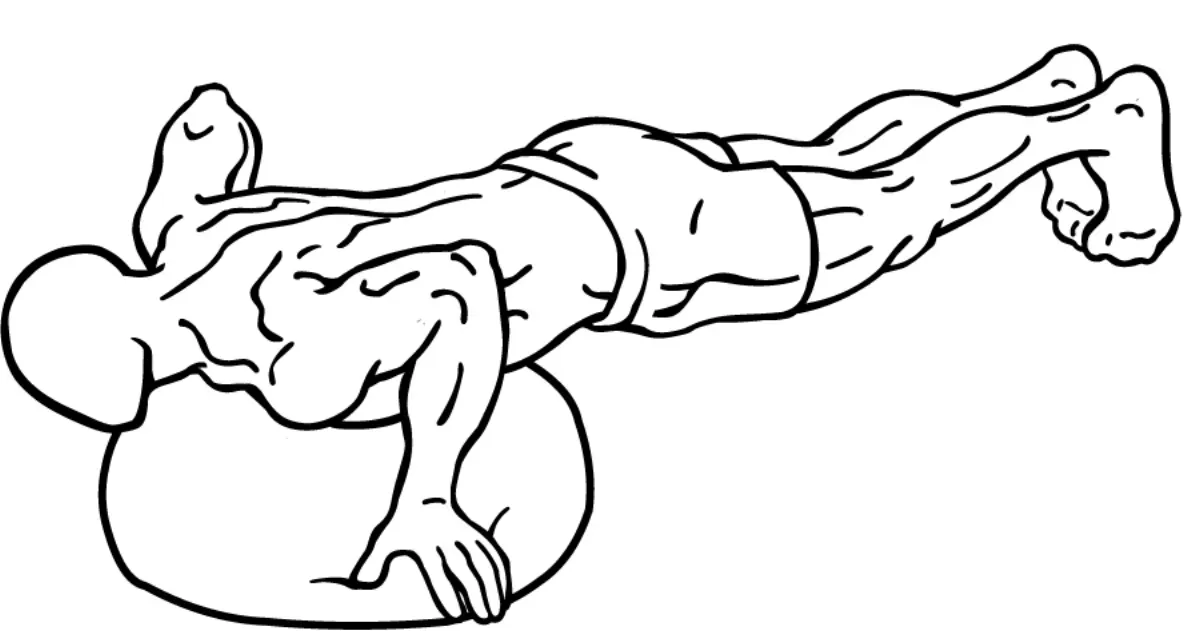
Illustration by Everkinetic via Wikimedia Commons (CC BY-SA 3.0)
Week 1. 3 sets, aim for 8 reps each. If you can’t hit 8, do what you can and rest 90 seconds. If 8 feels easy across all three sets, you started on too soft a rung.
Week 2. 4 sets of 8. Same variation. The extra set raises your weekly volume, which is the main driver early on.
Week 3. 4 sets, push the top sets toward 10 or 12 reps. You should feel the last two reps of each set.
Week 4. 3 sets of 5 on the next rung up. Yes, the rep count drops, because the harder variation is the progression. When those 5s climb back to 10s over the following weeks, you climb again.
Run that loop. Incline gets easier, you lower the surface or move to the floor. Floor reps pile up, you elevate your feet for decline. There’s no finish line, just the next rung.
If you’re new to bodyweight training in general, slot this push-up plan into a fuller routine. The calisthenics for beginners pillar lays out the five movement patterns and how a push, a pull, a squat, and a core move fit into one weekly schedule.
Form mistakes that quietly stall you
Most stalled push-up progress traces back to form, not effort. Two errors do the bulk of the damage.
Sagging hips
When the core gives out, the hips drift toward the floor and the lower back takes the strain. It also shortens the working range, so you’re doing an easier rep than you think. The American Council on Exercise cues you to stiffen the torso by bracing the core, glutes, and quads, and to not let the low back sag or the hips hike up during the descent (ACE, 2011). A useful self-check: squeeze your glutes hard at the start of each set. It locks the pelvis and the sag mostly disappears.
Flared elbows and half reps
Letting the elbows fan straight out to the sides at 90 degrees stresses the shoulders and tends to pair with a shallow range. Keep the elbows tracking somewhere between 45 and 60 degrees from your body, closer to a tidy arrow than a wide T. And go the whole way down. A push-up where the chest stops a foot off the floor is half a rep. Lower until your chest is a few inches from the ground, pause for a beat, then press.
Holding your breath
Small one, but common. Bracing the core makes people clamp down and hold their breath through the set. Inhale on the way down, exhale as you press up. It keeps the brace honest without making you light-headed by rep eight.
Build the rest of your upper body around it
Push-ups handle the pressing side, but a balanced upper body needs pulling and direct work too, or you end up strong in one direction and rounded forward. Pair your push-up sessions with rows so the back keeps pace. The back workout at home guide covers no-equipment rowing options, and the shoulder workout at home routine adds overhead and lateral work that push-ups skip.
The triceps already get hammered by diamond and close-grip push-ups, but if you want them to grow faster, the arm workout at home guide has dip and extension variations. And because every push-up is also a moving plank, a little dedicated core work makes your reps more stable. The ab workout at home routine fits in the same sessions.
The thread through all of it is the same idea you started with: find the version that’s hard, do it well, and climb when it gets easy.
Frequently asked
- How do I do my first full push-up if I can't do any yet?
- Raise your hands onto a wall, counter, or sturdy table so gravity takes some of your bodyweight off. Do sets of 8 to 12 reps there, and every week or two lower the surface a few inches. Knee push-ups work too, but hand-elevated push-ups let you keep a straight body line, which carries over more directly to the full version. Most beginners reach a clean floor rep within four to eight weeks of consistent practice.
- How many push-ups should I do per day to get stronger?
- Reps per day matter less than total weekly volume and progression. A workable target is three to five sets near the edge of your ability, two or three times a week, with a rest day between sessions. If you prefer daily training, 'greasing the groove' works well: do a few easy sets spread through the day, stopping each set well short of failure. Add reps or move to a harder variation once a number feels comfortable.
- What are the most common push-up mistakes?
- Two stand out. The first is letting the hips sag toward the floor, which strains the lower back and shortens the range. The American Council on Exercise cues you to brace your core so the low back does not drop. The second is rushing the reps and only going halfway down. Lower until your chest is a few inches off the floor, pause, then press up under control.